Introduction
This internal internal article will show you how to configure Espago terminals with PosWeb and DI.
Before you start
Production: https://terminals.espago.com/
Testing: https://terminals-sandbox.espago.com/
You need to have Espago Terminals browser add-on and application installed.
Please prepare a user account with access to PosWeb application. We will use the credentials to authorize back request from Espago.
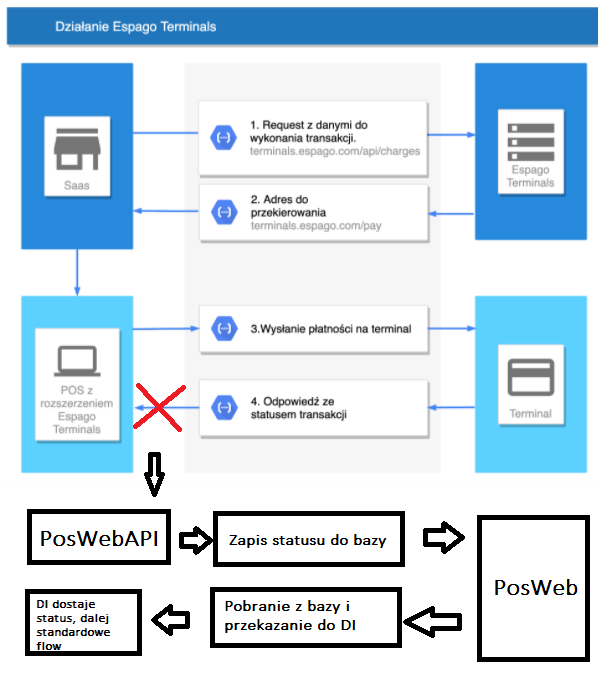
How it works?
- Start the transaction from PosWeb by clicking on the Credit card button as standard credit card payment and send a request to Device Integrator. After that, Device Integrator performs a request to Espago API.
- As a result of the request, Espago returns a unique url for payment. This url is then passed to PosWeb. Next, PosWeb opens that link in a new browser tab.
- Espago connects with transaction terminal / simulator through the browser add-on. All of instructions will be displayed on the terminal screen.
- Espago performs back request to PosWebApi with transaction status and details.
- The status is saved in a Receipt entity related with the current transaction.
- PosWeb (UI) receives the information about status of the payment and performs a request to Device Integrator which is waiting for transaction status.
Instruction
Espago terminals configuration
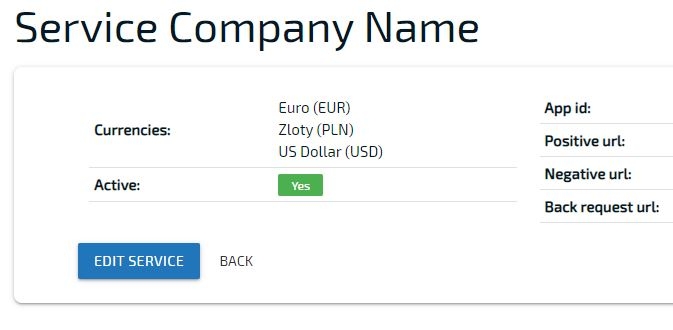
- Go to https://terminals.espago.com/ and sign in
- Click edit service and provide integration data with instructions below:
Image
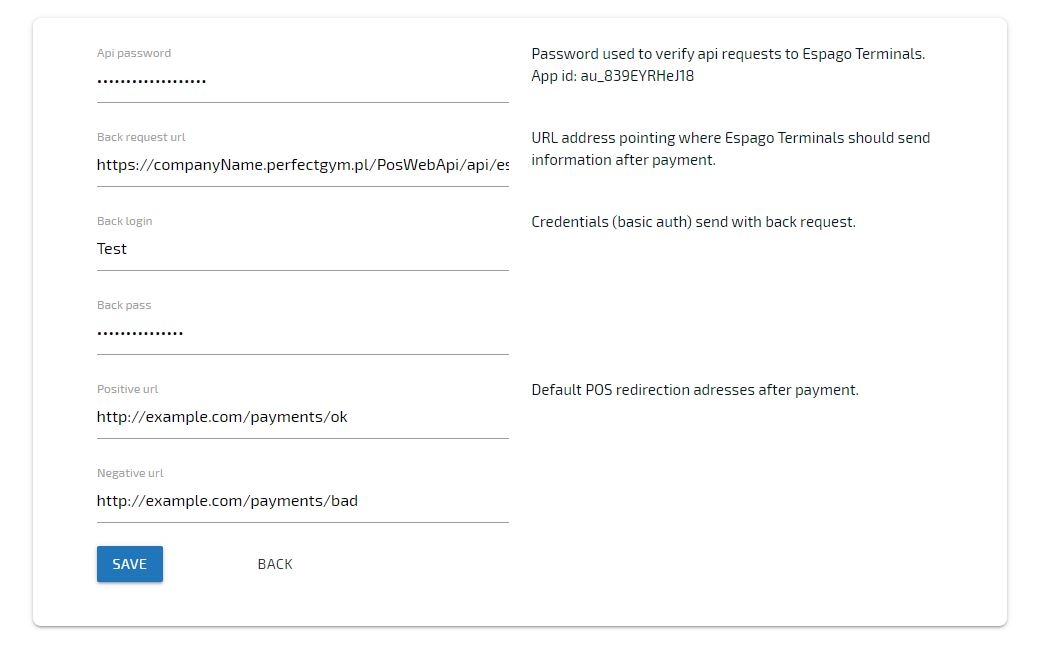
Api password: use the password generated to use with Espago API
Back request url: the url where Espago has to do a request and wait for code 200 response. It always looks according to the following pattern:
For production environment: https://CompanyName.perfectgym.pl/PosWebApi/api/espago/notifypaymentresult
For testing environment: https://CompanyName.testing1.perfectgym.pl/PosWebApi/api/espago/notifypaymentresult
Back login: NotifyPaymentResult method from PosWebApi requires login and password to authorize the request. It can be login and password of any user with access to PosWeb
Back pass: password of the user mentioned above
Positive url: the site to which user will be redirected after a successful payment
Negative url: the site to which user will be redirected after a failed payment
Espago Terminals application configuration
Go to Espago documentation for detailed configuration.
PosWeb configuration
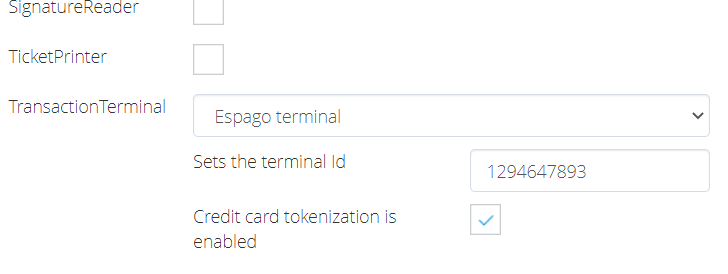
1. Go to the PosWeb and open the config tab.
2. In the TransactionTerminal section, select Espago terminal device and provide terminal id from Espago website. In this section, you also could set if credit card must be saved and tokenization in system what enables to recuring payment with the card. If payment finish successes user gives a question if save the card.
3. Click Save configuration and restart Device Integrator